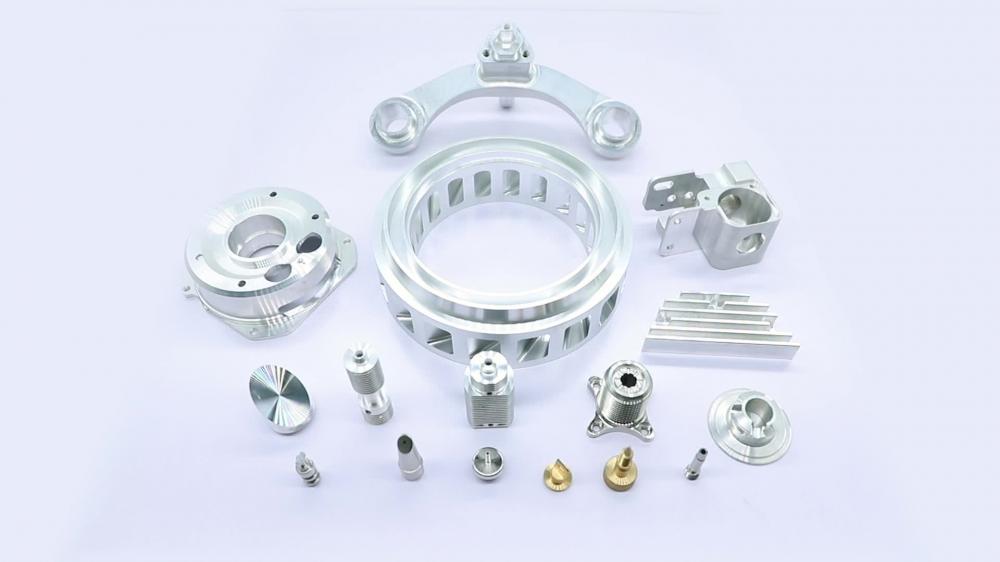
CNC Machining center comprehensive processing capacity is strong, workpiece can complete more processing content after a clamping, processing accuracy is higher, for medium and difficult processing batch workpieces, its efficiency can reach 5~10 times of ordinary equipment, especially can complete many ordinary equipment can not complete the processing, for complex shape, high precision requirements of single processing or small batch, multi-variety production is more suitable. So how much roughness can CNC machining surface achieve?

Lathe processing spare parts Surface roughness is generally formed by the processing method used and other factors, such as the friction between the tool and the surface of the part during CNC machining, the plastic deformation of the surface layer metal during chip separation, and the high-frequency vibration in the process system. Due to the different CNC machining methods and workpiece materials, the depth, density, shape and texture of the traces left on the processed surface are different. Generally, ordinary machine tools are processed out of about 3.2, and high-speed machines can reach a finish of 1.6; pay attention to the tools and cutting parameters used in processing. The details are as follows: First, CNC Turning processing roughness: CNC turning is a computer CNC machining process that rotates the workpiece and the turning tool moves in a straight or curved plane to process the inner and outer cylindrical surfaces, end faces, conical surfaces, forming surfaces and threads. (1) Generally, the surface roughness of CNC turning is 1.6-0.8μM. (2) Rough turning: use large cutting depth and large feed to improve efficiency without reducing the cutting speed, and the surface roughness requirement is 20-10μm. (3) Semi-fine turning and fine turning: small cutting speed and high-speed feed are adopted, and the surface roughness requirement is 10-0.16μM. (4) For high-precision CNC lathes: fine-ground diamond turning tools can turn non-ferrous metal workpieces with high-speed precision turning with a surface roughness of 0.04-0.01μm, also known as "mirror turning". Second, CNC boring processing roughness: Boring is an internal cutting technique that uses a boring cutter to enlarge holes or other pre-existing circular profiles. The tool used is usually a single-edged boring knife (boring bar). Suitable for semi-roughing to finishing. (1) The boring accuracy of steel can reach 2.5-0.16μM. (2) The precision of fine boring can reach 0.63-0.08μM. Third, CNC Milling processing roughness: CNC milling refers to the process of machining stationary workpieces with rotating multi-point tools on computer-controlled machine tools, suitable for machining grooves, planes, gears and special features. (1) The general surface roughness of milling is 6.3-1.6μM. (2) Rough milling accuracy: 20-5μM. (3) Semi-finishing milling: 10-2.5μM. (4) Fine milling: 6-0.63μM. Four. CNC processing roughness of grinding machine: Grinding is the use of grinding wheel to cut off the excess material on the workpiece abrasive processing process, widely used in the machinery manufacturing industry, usually used for semi-finishing and finishing, can achieve finishing and precise cutting. The grinding movement around the stationary workpiece can be controlled. (1) The surface roughness of grinding is generally 1.25-0.16μM. (2) The surface roughness of precision grinding is 0.16-0.04μM. (3) The surface roughness of ultra-precision grinding is 0.04-0.01μM. (4) The surface roughness of mirror grinding is less than 0.01μM. The surface roughness of CNC machining is closely related to the matching properties, wear resistance, fatigue strength, contact stiffness, vibration and noise of mechanical parts, which has an important impact on the service life and reliability of mechanical products. Generally, the annotation uses Ra. The sampling length should be selected according to the formation of the actual surface of the part and the texture characteristics, and the length of the section that can reflect the surface roughness characteristics should be selected, and the sampling length should be measured according to the general trend of the actual surface contour. The sampling length is specified and selected to limit and reduce the influence of surface waviness and shape errors on the measurement results of surface roughness. CNC parts processing Surface roughness has a great influence on part usage. Generally speaking, the surface roughness value is small, which will improve the quality of the fit, reduce wear, and extend the service life of the parts, but the processing cost of the parts will increase. Therefore, the surface roughness value should be selected correctly and reasonably. When designing parts, the choice of surface roughness value is determined according to the role of the part in the machine. Milling parts Although CNC machining can produce parts with strict tolerances and fine parts from various metal or plastic materials, due to the depletion of the machining process, the surface of the parts will have smaller knife marks after processing. However, there are a variety of methods we can use to improve the surface roughness, visual performance, and wear resistance of CNC machined parts.


